How to Make Cold Porcelain
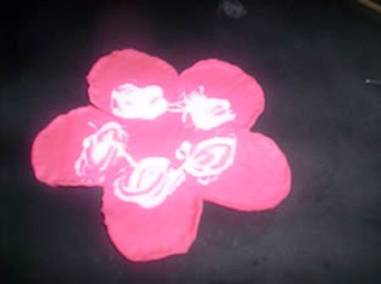
Rose
Materials Needed:
-
Floral Wire
-
Green floral tape
-
Long nose pliers with cutter
-
Colored dough
-
Rubber pad
-
White vegetable lard or margarine
-
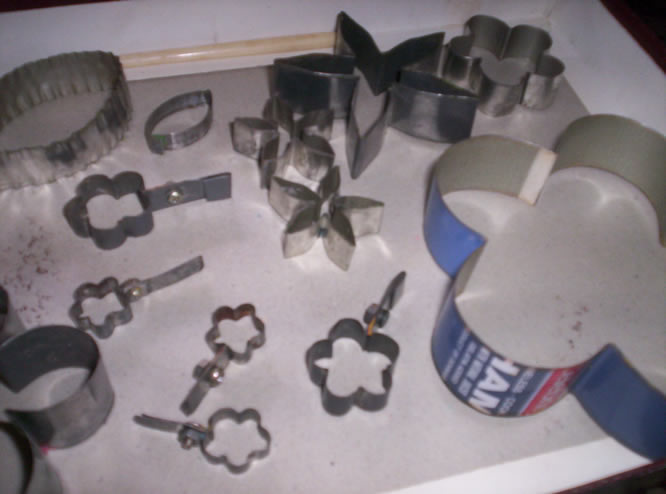
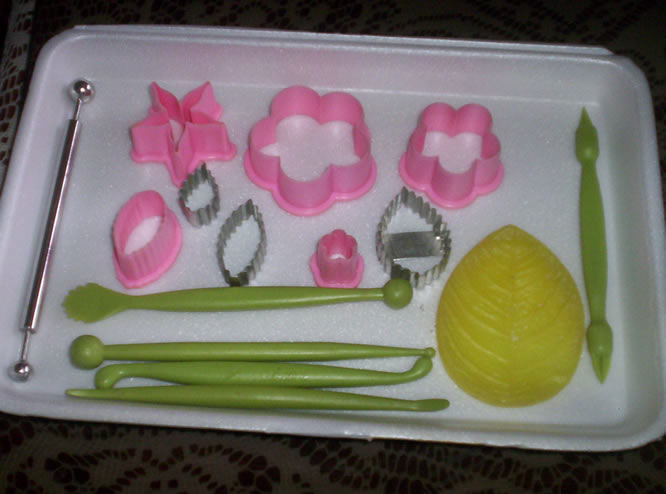
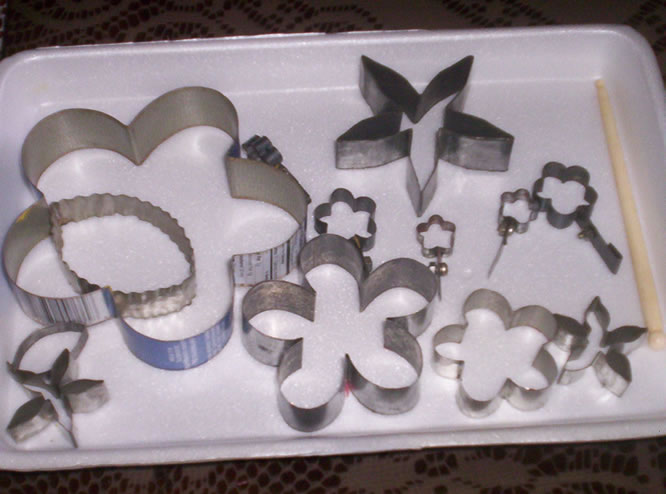
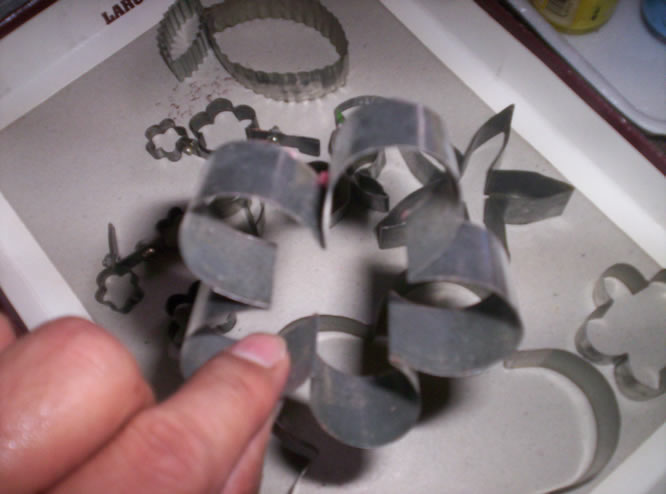
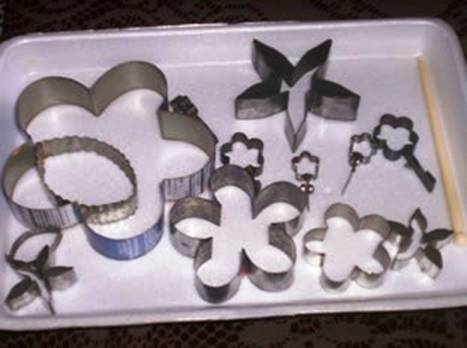
Cutting tools, etc.
-
White glue
-
Wooden block with holes – to hold and dry
finished products. You can also use styrofoam blocks.
-
Baller – to press thin the edges of the
petal
-
Leaf veiner or fresh leaf – to emboss
design to the porcelain leaf
-
Toothpick – to emboss design to the petal
-
Rolling pin – PVC pipe
Step 1. How to Make the Rose Bud
Procedure:
1.
For the bud stem, cut the wire 8 – 9 inches long. Wrap it with green
floral tape. With the long nose pliers, make a small curb at one end of the
wrapped wire stem. The curb will strengthen the hold of the wire to the bud.
2.
Get a portion of your colored dough, one inch about the size of your
thumb. Shape it into a bud.

3.
Apply glue to the curb tip of your wire stem and insert it to the bud.
4.
Let your finished rose bud go dry on the wooden or styrofoam block.
Step 2. Rose Petals
Procedure:
1.
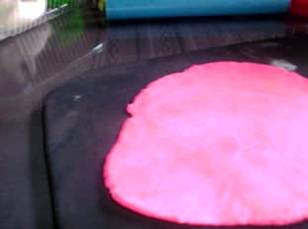
Get a portion of the colored dough (about the size of a baby’s fist) and
form it into a ball and place on a rubber pad.
2.
Flatten the dough with the rolling pin 3 mm thick.
3.
Apply lard to your petal cutter and press deeply on your dough.
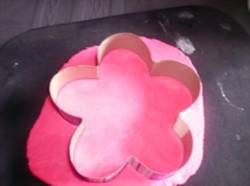
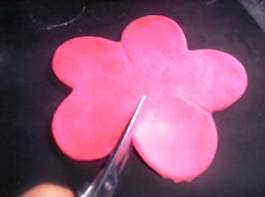
4.
Cut the petals deeper towards the center with scissors.
5.
Using the baler, flatten the tip of each petal.
6.
Roll a toothpick on the petal to emboss the design of a real rose petal.
7.
Apply glue at the middle part or to almost ½ of each petal.
8.
Lift the petals up and insert your budded wire (step 1) at the middle.
9.
Wrap around the bud one of the petal.


10.
Shape the other 4 petals, layer them around the bud.
Note:
This is now the stage of the rose bud that starts to open or bloom.
- Next Page -