|
|
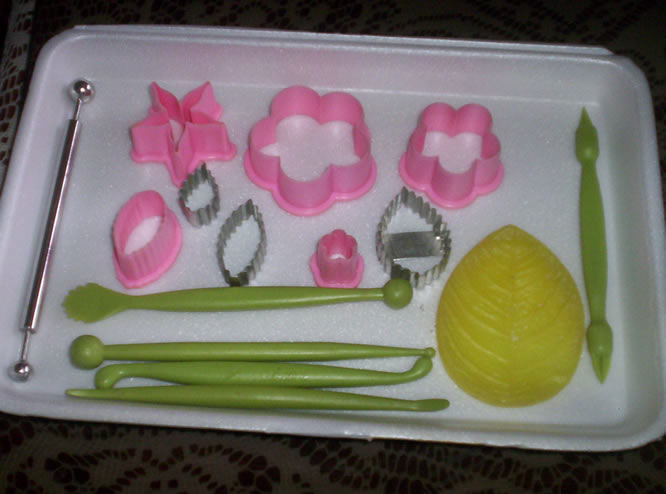
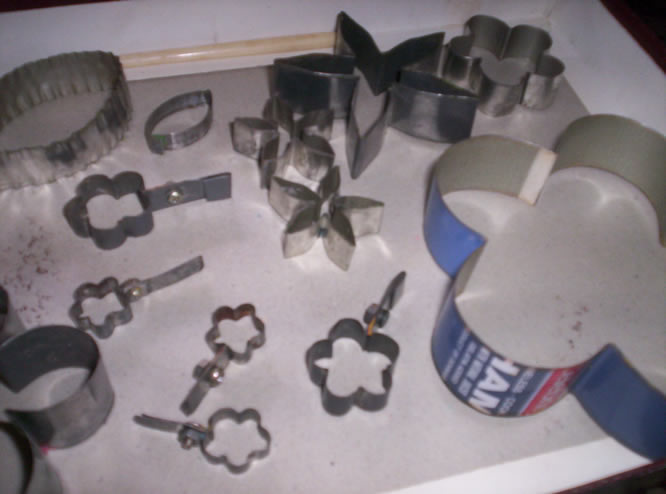
These are commercial tools for making artistic porcelain. You can make your improvised tools easily.
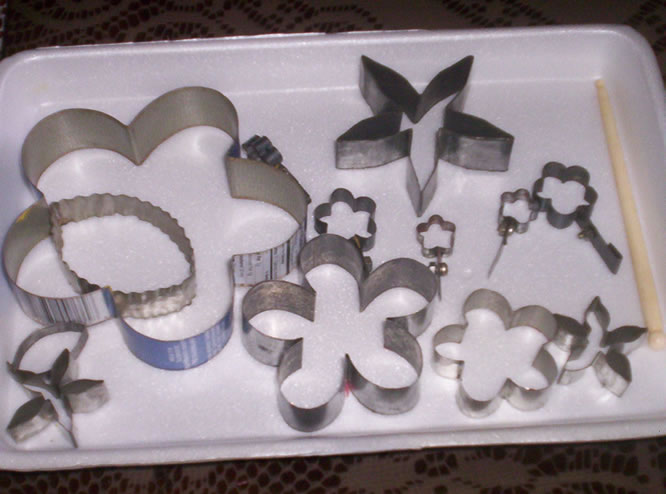
These tools are improvised version of the above tools, made out of tin cans. It's easy to cut the shapes with aviation scissors.
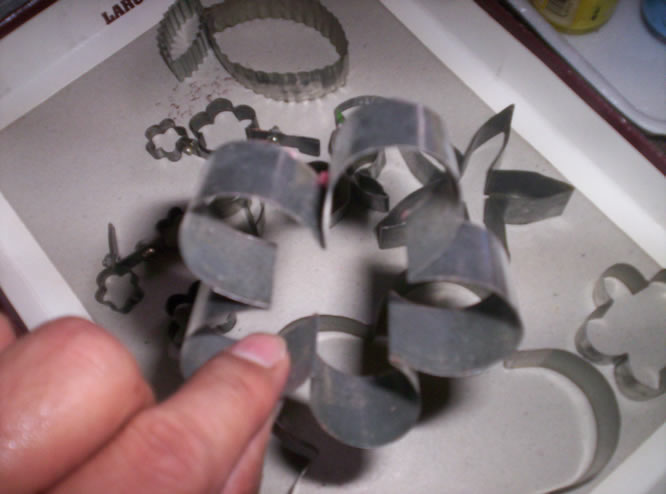
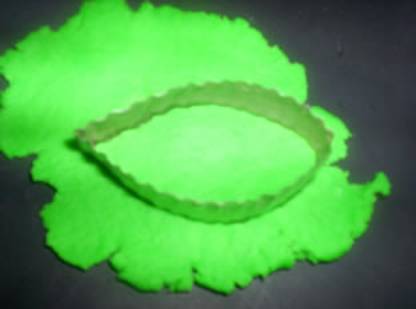
This tool is for cutting flowers through flattened porcelain dough. Different sizes can be made out of tin cans.
JRV Ecommerce Solutions
Step 4. How to Make Your Leaf
Materials:
1. Leaf Cutter
2. Leaf Veiner or fresh leaf from your favorite plant or tree
3. Green dough
4. Rubber pad
5. Floral wire
6. Floral tape
7. Wire cutter
Procedure:
1. Cut wire 4 – 5 inches long. Wrap it with green floral tape. This will serve as the leaf stem.
2.
Take the green dough, form into a ball, place on your pad and flatten it
with your rolling pin. The thickness is about 4 mm.
3. Apply lard on the leaf cutter and press it deeply on the green dough.
4. Several leaves can be cut at the same time.
5. Place the leaf veiner or fresh leaf on top of the dough leaf; press it a little against the dough leaf to emboss the vein design of a real leaf.

6. Apply glue to the portion of wire stem that will be inserted at the middle of the leaf.
7. Insert wire without touching the front and back side of the leaf.
8. Dry leaf by inserting the stem on the styrofoam block.
9. Attach 2 or 3 leaves to the stem of the rose or use your own version of arranging the leaves. Cover the stem with another layer of green floral tape.
Make Flowerets, Buds, Pollen and Leaves
Materials:
1. Flexible wire
2. Green floral tape
3. Floweret cutter
4. Leaf cutter
5. White glue
6. Colored dough
7. Wooden or styrofoam block
8. Leaf veiner or fresh leaf
9. White vegetable lard or margarine – apply to your cutter
Procedure:
A. Pollen Stem
1. Start with pollen stem, wrap wire with green floral tape.

2. Cut it into 2 inches long – this will hold the pollen and will serve as stem for your floweret.
3. Get a portion of yellow or white dough. Roll it thinly, cut into small pieces and form into miniballs with your hands.
4. Apply glue at the tip of floral wire and insert it at the middle of the miniball. Do as many as you can.
5. Let them dry; insert them to the styrofoam block. (Note: Cold porcelain dough will shrink a little when dried)
B. Flowerets
1. On your rubber pad, roll a small portion of colored dough, the round is the size of your thumb. Cut your round dough to one inch each.
2. For every piece, shape likes a bell, the pointed side up. The base touching the pad.
3. Apply vegetable lard to floweret cutter
4. Insert the cutter at the center lower portion press it producing petals shape at the bottom.
5. Turn it up and start cutting deeper the petals with scissors.
6. With the use of your baler, press or push deeper each petal to produce a more pronounce petals.
7. Get your finished pollen stem. Dot the center of your floweret and insert the pollen stem in the middle of the floweret.
8. Let it dry on your styrofoam block.
C. Floweret buds - underdeveloped stage of flowers. Here’s how:
1. Roll your colored dough on the pad. The round is the size of your small finger. Cut your dough ½ inch each.
2. Form them into ball with your hand. Shape the lower part a little bit oblong.
3. Get your pollen stem, apply glue below the pollen ball.
4. Insert the stem at the center of the bud sinking it just enough to show it at the middle of the bud.
5. With the slicer make 5 slices around the bud to simulate the upcoming petals.
6. Dry it on your wooden or styrofoam block.
D. Small Leaf
1. Prepare green wire stem, 2-3 inches in length.
2. Take a portion of the green dough, knead a little and form into a ball.
3. With the roller, flatten it on the rubber pad; the thickness is about 3-4 mm.
4. Apply vegetable lard around the leaf cutter; press it on the dough, producing several pieces of leaves.
5. Get the wire stem, dot with glue the portion you will insert at the middle of the leaf.
6. Insert it at the middle of the leaf without piercing the front and back side.
7. Let dry on your styrofoam block.
8. Attach 2 leaves at the stem of your floweret.
There are lots more you can do with your cold porcelain dough:
1. You can imitate flowers from your garden, make your own cutting tool by tracing the shape of each petal.
2. Use them as decorations on your:
a. Jewelry/keepsake boxes
b. Valentine gifts
c. Picture frames
d. Vases
e. Pen holders
f. Hair band
g. Invitation holder
h.
Gift Tags
3. There are lot more, use your imaginations and you will create more beautiful crafts.
Homemade tools for making cold porcelain flowers and flowerets.

These are improvised tools for cutting leaves through porcelain dough.
The improvised roller is made from blue PVC pipe.